Read First: How To: Install WooCommerce
Having a customizable eCommerce platform means that there are a lot of available settings to tweak. The Setup Wizard takes you through all necessary steps to set up your store and get it ready to start selling!
Immediately after activating the plugin, you are taken to the Setup Wizard. You can:
- Use the wizard
- Select ‘Not right now’ and set up everything manually
- Use parts of the wizard, by completing and skipping steps as you like.
(If you’re not seeing this, it means you’ve been presented with the new onboarding experience).
Store Setup
- Location and currency of your store
- What type of goods you plan to sell
- Whether you sell goods and services in person

Help Improve WooCommerce
A pop-up will ask if you’d like to participate in improving WooCommerce.
There’s also an option to find more information on how you’ll be helping.
Payment
There are a few possible scenarios, depending on:
- Where your store is located
- How you answered the question about selling goods and services in person
If you did NOT tick the box for selling in person, you are shown Stripe and PayPal:

*Payment gateways may require Jetpack and can be deactivated and uninstalled, if you later decide to not use them. There is no obligation.
All store owners may also opt to accept Offline Payments by toggling the arrow, which opens a panel.

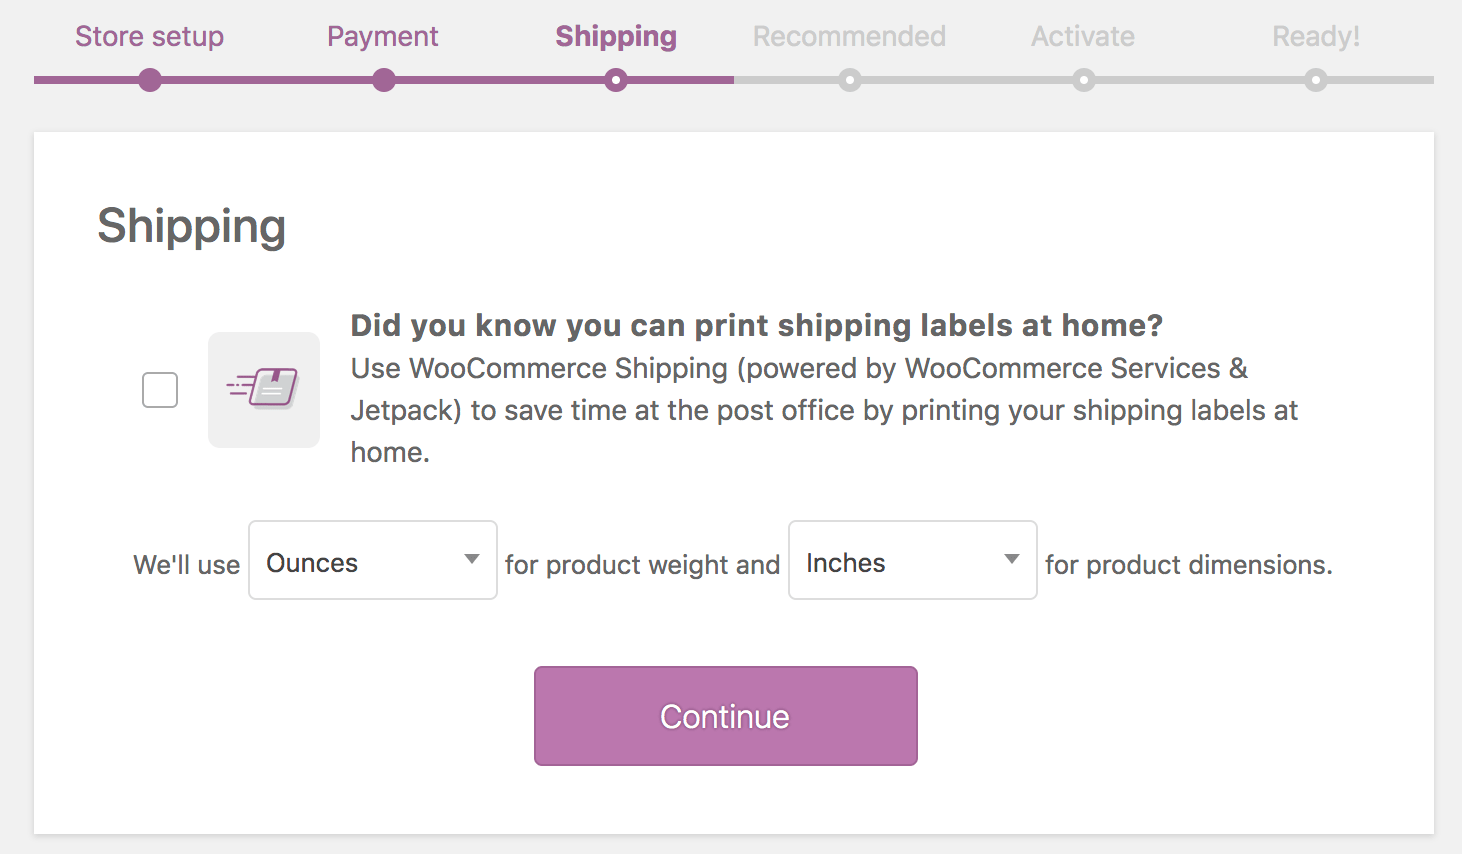
Shipping
- Print shipping labels at home (only available to US and Canada) – Tick box to opt in
- Select a unit of measurement for weight and dimensions.
Recommended
Depending on your store location, different options may be shown here.

You can choose some optional extensions for your new store.
- The free Storefront theme can be installed.
- Automated Taxes requires a Jetpack connection. If you selected this option, you will be prompted to connect.
- WooCommerce Admin is a new interface for managing your store, with improved reports and a dashboard to monitor key metrics of your site.
- The Mailchimp for WooCommerce plugin allows you to automate emails, send promos, and build mailing lists.
- Facebook for WooCommerce brings your products to social media.
All extensions and services can be deactivated and uninstalled, if you later decide to not use them. There is no obligation.

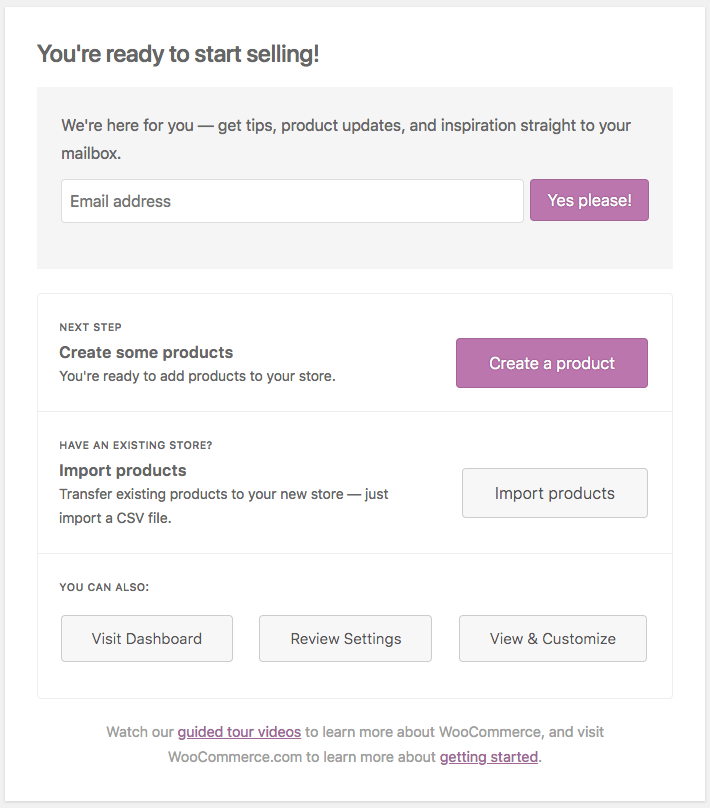
Ready!
Setup Wizard is complete. As a next step, you can:
- Sign up for the WooCommerce newsletter.
- Select the Create a Product button.
- Use the Built-in Product Importer to upload products via CSV.
- Review and change your settings.
- Watch the WooCommerce Guided Video Tour or read Getting Started.